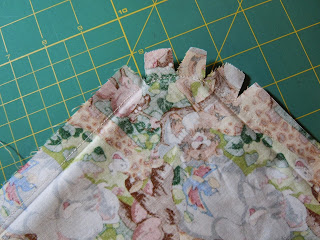
Your 8" x 4 1/2" rectangles will be folded like so.
Stitch using a 1/4" seam allowance on the lines I have marked here, leaving a gap for turning.
When you flip it right-sides-out, it should look like this.
Ta-da! This is the strap after top-stitching using an 1/8" seam allowance.
Add velcrow as shown. Use sew-on velcrow without adhesive, or it will gum up your machine.
Use a double row of stitching to attach the straps to the cover. Buttons can be added as a decorative embellishment. The picture below shows how to attach the completed carseat cover to the carrier.
Fabric was provided by Quilts Ole.


No comments:
Post a Comment