Thursday, October 17, 2013

Carseat Cover Tutorial


Make sure you cut notches in the rounded corners of the two 29" x 41" pieces of fabric you sew together using a 1/2" seam allowance. This will create less bulk in the corners and make it easier to turn right-sides-out. Remember to leave a gap for turning. This gap will be closed during the top-stitching process.

Your 8" x 4 1/2" rectangles will be folded like so.
Stitch using a 1/4" seam allowance on the lines I have marked here, leaving a gap for turning.

When you flip it right-sides-out, it should look like this.


Ta-da! This is the strap after top-stitching using an 1/8" seam allowance.

Add velcrow as shown. Use sew-on velcrow without adhesive, or it will gum up your machine.
Use a double row of stitching to attach the straps to the cover. Buttons can be added as a decorative embellishment. The picture below shows how to attach the completed carseat cover to the carrier.

Fabric was provided by Quilts Ole.

Upcoming Classes

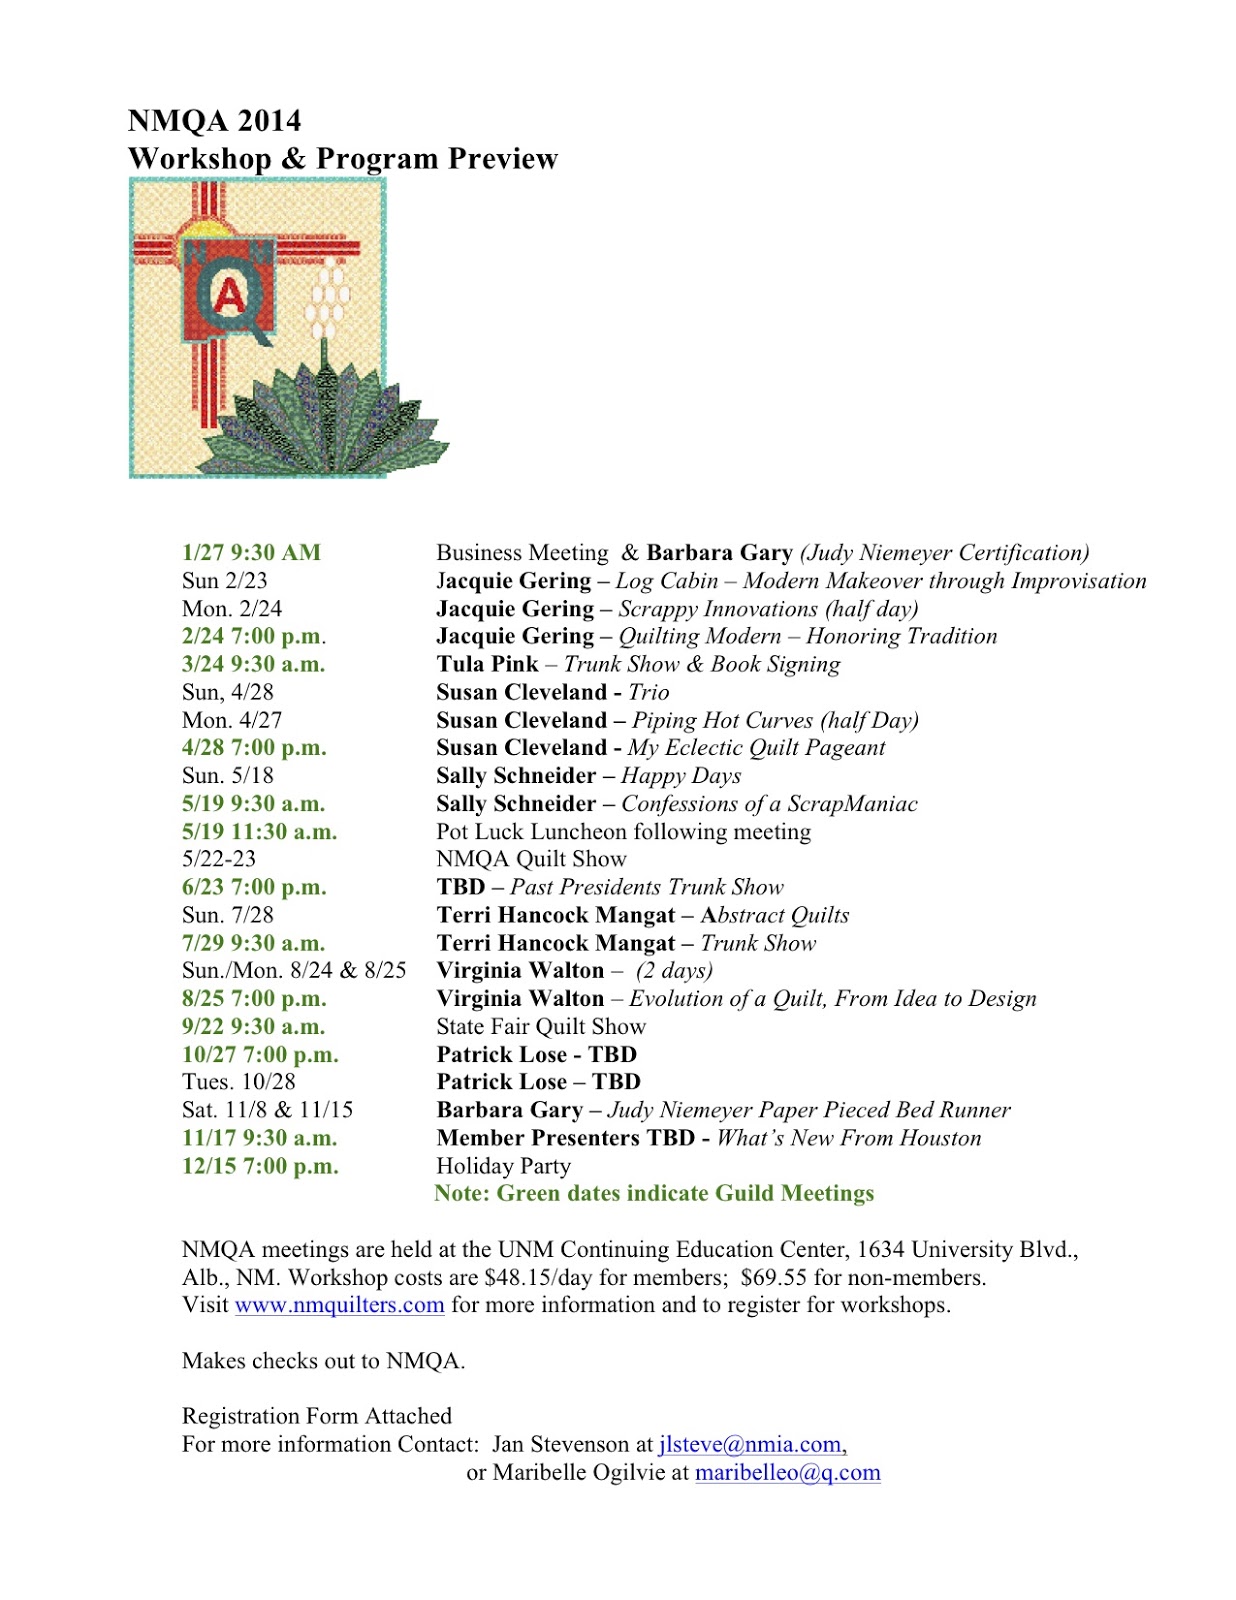
I have two upcoming UNM Continuing Education classes. Descriptions follow the picture.


Modern Sampler Quilt

Number of Weeks: 6
Day/Times: Tuesdays 6:00-8:30 pm
Starting Date: 2-4-14
Ending Date: 3-11-14

Location: Ann Silva’s Sewing Center

Delve into the emerging world of modern quilting! Experience piecing techniques including improvisational, strip, pixel, foundation paper and curved, as you compose a quilt top containing nine unique blocks set in an alternate grid layout. Experiment with bold colors, innovative background choices, on-trend fabrics, negative space, geometric shapes, Internet resources, and reinterpretation of traditional quilt blocks. This course is suitable for those with basic sewing skills, rotary cutting experience, and knowledge of quilt construction. Sewing machines are available for use free-of-charge at Ann Silva’s.

Quilt Top to Finished Quilt – Modern Style

Number of Weeks: 5
Day/Times: Tuesdays 6:00-8:30 pm
Starting Date: 3-18-14
Ending Date: 4-15-14

Location: Ann Silva’s Sewing Center

Gain the skills necessary to turn an unfinished quilt top into a completed quilt. Various contemporary basting, binding, and free-motion quilting methods will be explored. This course is suitable for those with basic sewing skills, rotary cutting experience, and knowledge of quilt construction. Sewing machines are available for use free-of-charge at Ann Silva’s.

Wednesday, June 19, 2013

So Proud

Check out what a wonderful job Judy Gillenwater did making my "Zoo Quilt" pattern. You can't see anything but the top of her head because she's hiding behind her quilt top.


Here's an updated shot. She's added adorable prairie points to the bottom. It's hard to believe this is her first experience with prairie points and paper piecing. I love the gray background and the font she chose for the "zoo" letters.


Retro Sampler Quilt


If you live near or in Albuquerque, you may be interested in a UNM Continuing Education course I'm teaching at Ann Silva's Sewing Center every Tuesday in July from 6 to 8:30 pm. 

Here's the description:
Create a wall-hanging-sized quilt top reminiscent of the 1930s, using today’s tools and techniques. A progression of nine unique blocks possesses all the charm of a bygone era and none of the tedious handwork. Develop skills such as paper-piecing, appliqué, and more. This course is suitable for those with basic sewing skills, rotary cutting experience, and knowledge of quilt construction.  A limited supply of sewing machines is available for use free-of-charge at Ann Silva’s.

Go to the UNM Continuing Education website to register. The cost is $95 for five sessions and 12 1/2 hours of instruction.

Sunday, April 21, 2013

One-Seam Flying Geese

Super Mario Quilt

My friend Ashley White is expecting her first child, Wesley William White any time now. Since her nursery them is Super Mario Brothers, I used Angela Pingel's Super Mario Brothers QAL as inspiration. Instead of using all 1 1/2" squares, I combined squares to make larger units. I also pieced as usual, rather than using the Pellon Stick-n-Wash stabilizer. I rescaled the Mario block to be a 36" x 36" baby quilt, which meant each square of the grid ended up being 2" finished. 


I quilted using a decorative serpentine stitch on my machine at its longest setting for the background. Mario was quilted by stitching in the ditch. I used matching thread colors on the front, and black on the back, since the backing is solid black. The binding was stitched to the back, then pulled around to the front. I stitched while looking at the front side to know if I was catching the binding with my line of stitching or not. The line of stitching appears on the quilt back, just off the binding. This is not very noticeable if thread that matches the backing is used.